Setting Up Your WordPress Blog in 2025: Step-by-Step Guide
March 18, 2025
Starting a blog can feel daunting, but WordPress makes it easier than ever. Whether you use WordPress.com or go the self-hosted route, this guide will take you from just an idea to a fully launched WordPress blogging website. We’ll cover everything to get you from idea to a set up website – different setup methods, choosing hosting, buying a domain, installing WordPress, and picking a theme, and even how AI tools (like Viveboard) can help with content. By the end, blogging on WordPress will feel straightforward and exciting. Let’s dive in!
1. Different Setup Methods for a WordPress Blog
When it comes to WordPress for blogging, you have a couple of main routes to get started. Each has its pros and cons:
Option 1: Use a Website Builder or Managed WordPress Service – Services like WordPress.com or hosts like Bluehost/SiteGround offer one-click WordPress setups. Essentially, the technical heavy-lifting (server setup, database, etc.) is done for you. This is great if you want a quick, convenient start.
Pros: Minimal technical setup, hosting is pre-configured, often comes with support.
Cons: Slightly less control over the environment and, in the case of WordPress.com, certain limitations on plugins or customization unless you upgrade.
For example, WordPress.com (the hosted platform) is user-friendly but its free and lower-tier plans have restrictions until you upgrade to higher plans.
Hosts like Bluehost or SiteGround that advertise easy WordPress setup also simplify the process with built-in installers.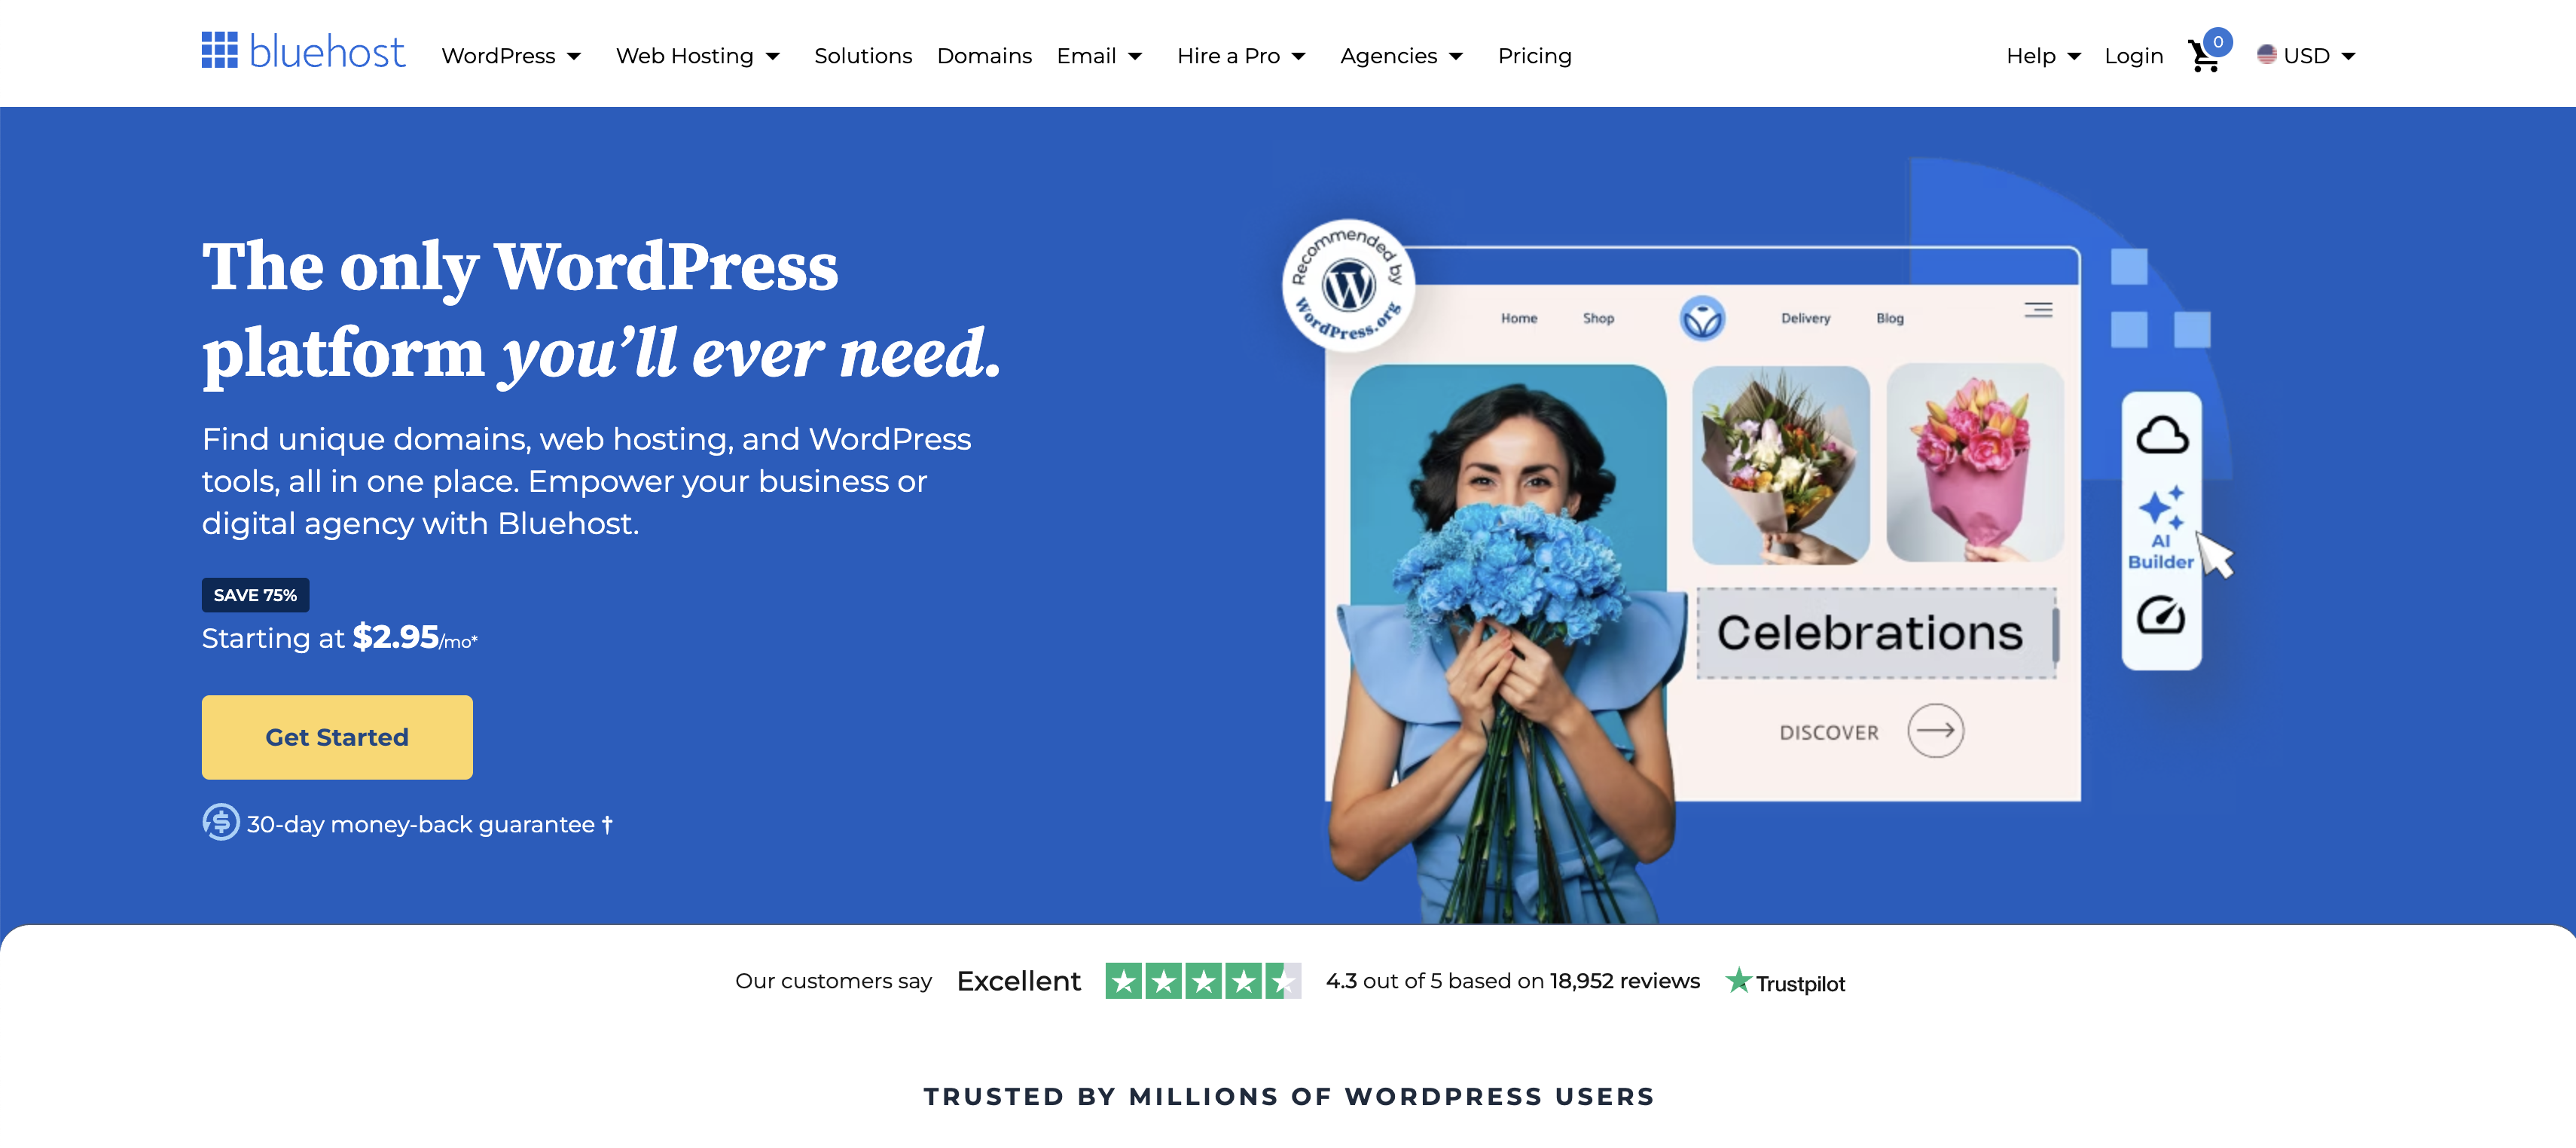
Bluehost is a popular option for setting up websites with WordPress on them.
Option 2: Self-Hosted WordPress (Manual Approach) – This means you purchase your own domain name, sign up for a web hosting plan, and install WordPress yourself (often via a one-click installer in your hosting control panel). This is the classic WordPress.org approach.
Pros: Complete ownership and control of your site’s files and data, unlimited customization (you can install any theme or plugin you want), and often more flexibility for future growth. Self-hosted WordPress is open-source and free to use – you just need a domain and hosting.
Cons: You’re responsible for maintenance (updates, backups, security) – though many hosts help with these – and the initial setup has a few more steps. If you’re not using a managed host, you’ll need to handle things like connecting your domain and installing WordPress (don’t worry, we’ll cover that below). However, for the freedom it offers, many bloggers prefer this route.
The WordPress.org home page.
If you want the simplest path and don’t mind some limitations, a managed service or a hosting provider’s WordPress blog setup wizard is convenient. If you want full control and the ability to customize every aspect, the self-hosted route is better. You can also start with the easy route and migrate to self-hosted later as your blog grows. There’s no “wrong” choice – just what fits your comfort level and goals.
2. Choosing the Right Hosting Provider
If you decide to self-host (which most bloggers do for maximum flexibility), the next big step is picking a WordPress hosting service. Your host is the foundation of your site – it affects your blog’s speed, security, and reliability. In 2025, here are some top WordPress hosting providers and what they’re known for:
Bluehost: A very popular budget-friendly host recommended for beginners. It often bundles a free domain for the first year and has an easy one-click WordPress install. Bluehost offers solid performance for small-to-medium blogs and 24/7 support.
Ease of Setup: Excellent – their signup wizard can auto-install WordPress for you.
Performance: Good for starter sites, with decent speeds and uptime (they claim ~99.99% uptime in 2025).
Security: Basic SSL is free; they handle updates and have optional security add-ons.
Scalability: Can handle moderate traffic, but very high-traffic sites might eventually outgrow basic plans.
Cost: Starts around $2.95/month on promo, which is great value (renewals will be higher).SiteGround: Known for top-notch customer support and performance optimizations. SiteGround has a bit higher starting price than Bluehost, but it offers features like daily backups, built-in caching, and a free CDN, which boost speed and security.
Ease of Setup: Also straightforward – they have a setup wizard for WordPress.
Performance: Very good – SiteGround is optimized for WordPress speed and can handle traffic spikes well.
Security: Excellent – they proactively patch security issues and include a web application firewall (they’re often praised for having better security measures than some budget hosts).
Scalability: Great for growing blogs; their higher-tier plans and cloud options can handle large sites.
Cost: Starts around $2.99/month on intro offers; renewal is higher, but many find it worth it for the performance.Hostinger: A globally popular host that shines for its affordability and surprising performance at that price. Hostinger’s plans are very budget-friendly (often <$2/month promo) yet include perks like a 1-click WordPress installer, a custom easy-to-use control panel, and even a free domain on some plans.
Ease of Setup: Very easy – their interface is user-centric.
Performance: Good – Hostinger uses LiteSpeed servers and caching to deliver fast load times, and they have multiple data centers worldwide.
Security: Provides free SSL, regular updates, and security features; not as hands-on as premium hosts but solid.
Scalability: Geared towards small to medium sites; you can upgrade plans as you grow. Cost: One of the lowest – often around $1.99/month promo, making it a top choice if you’re on a tight budget (while still getting good quality hosting).Kinsta: A premium managed WordPress host for those who want high performance and zero hassle. Kinsta runs on Google Cloud’s infrastructure for excellent speed and uptime.
Ease of Setup: Extremely easy – WordPress comes pre-installed, and their dashboard is very user-friendly. They handle all updates, caching, and even offer staging environments out of the box.
Performance: Outstanding – Kinsta is optimized for speed, can handle high traffic, and boasts ~99.98–99.99% uptime.
Security: Top-notch – daily backups, malware scanning, DDoS protection, and a dedicated security team.
Scalability: Excellent – meant for growing sites, e-commerce, or sites expecting large traffic; it auto-scales resources during traffic surges.
Cost: High-end – starts around $30/month. It’s more expensive, but you’re paying for premium infrastructure and support. Typically used by established bloggers, businesses, or anyone who anticipates needing the extra power.Cloudways: A bit unique – Cloudways is a managed cloud hosting platform. You choose a cloud provider (like DigitalOcean, AWS, Google Cloud, etc.) and Cloudways manages the server for you. This means you get cloud-grade performance and scalability without needing SysAdmin skills.
Ease of Setup: Moderate – Cloudways has a deployment wizard for WordPress, but the interface is slightly more technical than a cPanel host. It’s still point-and-click, just with more options.
Performance: Excellent – since you can choose high-performance cloud servers, your site can be very fast and handle heavy loads. Plus, Cloudways includes built-in caching and a CDN option.
Security: Good – free SSL, regular security patching, and dedicated firewalls.
Scalability: Very high – you can vertically scale your server (upgrade its specs) or even switch to a larger server as needed; it’s very flexible.
Cost: Varies – plans depend on the cloud provider and server size you pick. For example, a small DigitalOcean server via Cloudways might be ~$12/month. There’s no super cheap shared plan like $3/month – but the performance you get for ~$10-30/month can surpass many traditional shared hosts. Cloudways is ideal if you’re serious about performance and expect to grow, and don’t mind a slightly more hands-on setup initially.
The ones above are frequently recommended in 2025 for WordPress blogging beginners and intermediates. Focus on value: you want a host that offers reliable uptime, fast loading, good support, and scalability, all at a price within your budget.
A quick tip: check what kind of WordPress-specific features they offer (e.g., caching, backups, staging, etc.) as these can make your life easier. And make sure the host supports easy installation of WordPress (most do).
Lastly, remember you can always change hosts later if needed. Many hosts offer free migrations. So don’t let picking a host paralyze you – choose one that feels right, and you can reevaluate as your blog grows.
3. Domain Name and DNS Setup
Your domain name is your blog’s address on the web (like yourgreatblog.com). If you used a service like WordPress.com and chose a free plan, you might have a subdomain (like yourname.wordpress.com), but for a professional look, getting your own domain is recommended. Here’s how to go about it:
Purchasing a Domain: You can buy a domain from registrars such as Namecheap, GoDaddy, or Google Domains. Prices are usually around $10–15 per year for a .com domain. Choose something catchy, easy to spell, and reflective of your blog’s topic or your personal brand. Many hosting providers (Bluehost, Hostinger, etc.) include a free domain for the first year if you purchase hosting from them – that can simplify things for beginners. If you go that route, you might not need to follow separate DNS steps because the host will link it for you automatically. If you buy your domain separately (say on Namecheap) and hosting elsewhere, you’ll need to connect the two via DNS.
DNS Setup (Connecting Domain to Hosting): DNS is the system that points your domain name to the actual server where your website lives. When you have a separate domain registrar and host, you typically get nameservers from your host (for example, from Bluehost they might be
ns1.bluehost.comandns2.bluehost.com). You then log in to your domain registrar account and find the DNS settings or nameservers section for your domain, and replace the defaults with the ones your host provided. This tells the world, “Hey, for this domain, go to this host’s servers to find the website.” Once saved, the domain will start pointing to your host. Keep in mind that DNS changes can take some time to propagate across the internet (usually in a few minutes but up to 24 hours), so don’t worry if your site isn’t immediately accessible at your new domain.If your host instead gives you specific DNS records (like an A record pointing to an IP address), you can also add those in the DNS management section of your domain. But in most cases, for a new blog, using nameservers to delegate DNS to your host is simplest – then the hosting company will manage all the DNS records for you.
Now you have a domain and hosting working together. The next step is the fun part: installing WordPress!
4. Installing WordPress and Basic Configuration
Installing WordPress might sound technical, but it’s actually designed to be user-friendly. In fact, WordPress boasts a “five-minute install” process – and many hosts make it even faster with one-click installers. We’ll cover both the common methods.
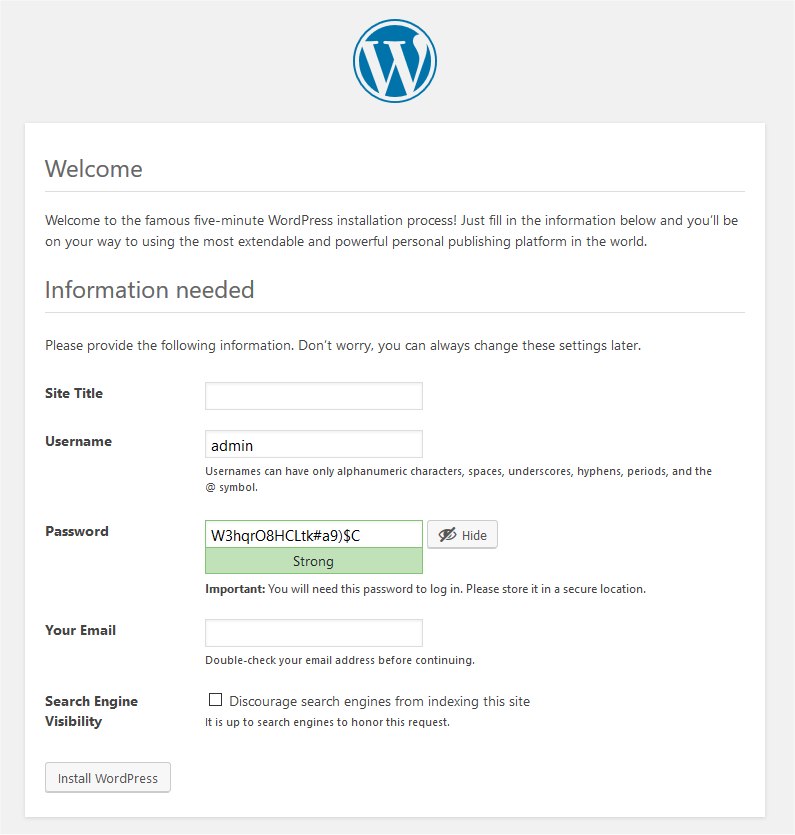
The WordPress 5-minute install - they make it really easy to get started with your blog.
a. Installing WordPress via Hosting Dashboard (One-Click Install): Most shared hosting in 2025 (Bluehost, Hostinger, SiteGround, etc.) provides an installer tool (like Softaculous or their own WordPress manager). After you log in to your hosting control panel (often cPanel or a custom dashboard), look for a WordPress icon or a section that says “Install WordPress”. The installer will ask a few questions: which domain to install on (choose your domain from a dropdown), site name, admin username and password you want, and email. Fill those in, click Install, and the script will set everything up for you in a minute or so. You’ll get a success message with your new WordPress login URL (typically something like yourdomain.com/wp-admin).
b. Manual Install (If needed): If for some reason you need to install WordPress manually (or you’re just curious how it works), it goes like this: you download the latest WordPress package from wordpress.org, unzip it, upload the files to your web server (via FTP or File Manager), create a MySQL database, and then run the install script by visiting your domain. Honestly, though, unless you’re in a very specific environment, you won’t need to do these steps by hand – one-click tools handle the file copying and database setup for you. But it’s good to know the overview. In any case, when you navigate to your site for the first time (if WordPress files are in place), you’ll see the WordPress installation wizard.
Site Title: The name of your blog (you can change this later in settings).
Username: This will be your admin login. For security, avoid the default “admin” – choose a unique username.
Password: You’ll use this to log in to your WordPress dashboard.
Your Email: An email address for password recovery and site notifications.
Search Engine Visibility: There’s a checkbox asking if you want to discourage search engines from indexing your site. Leave it unchecked if you want your blog to eventually appear in Google. (If you’re building the site in private and not ready to show the world, you could check it, but don’t forget to uncheck it when you launch).
Once you fill these in, hit the Install WordPress button. In a few seconds, you should see a success message and a login button.
Congratulations – WordPress is now installed on your site! You can log in to your dashboard at yourdomain.com/wp-admin using the username and password you set.Basic Configuration After Install: Upon first login to your WordPress dashboard, there are a few settings you’ll want to configure:
Permalinks: Go to Settings > Permalinks and choose “Post name”. This setting defines how your blog post URLs look. By default WordPress might use an ugly numeric format (
?p=123), but “Post name” will make URLs based on your post title (e.g.,yourdomain.com/your-blog-post-title), which is much more SEO-friendly and user-friendly.Site Title and Tagline: In Settings > General, you can adjust your Site Title and the Tagline (a short phrase that might show up in your site header or title tag).
Timezone and Date/Time Format: set your timezone to your local area (this helps with scheduling posts). Also choose a date format and time format you like.Reading Settings: Decide if you want your homepage to show your latest posts or a static page (for a classic blog, latest posts is fine). Also, you might want to set how many posts show per page and whether to show full text or summary in feeds.
Discussion Settings: This is about comments. Decide if you want to allow readers to comment on posts. WordPress by default allows comments on new posts. You might enable features like comment moderation (to prevent spam) here.
Delete Default Content: WordPress comes with a sample post (“Hello world!”) and sample page. You can go to Posts > All Posts and trash “Hello world!”, and Pages > All Pages to trash the sample page, since you’ll be creating your own content.
These basic settings ensure your blog is configured correctly from the start. Don’t worry, you can change any of these later as well. Now your WordPress site is up and running with a solid configuration – the canvas is ready for your creativity!
5. Choosing a Theme and Customizing Your Blog’s Design
One of the joys of WordPress is the vast array of themes available. Themes control the look and layout of your blog. In 2025, WordPress has thousands of free themes and many premium ones, ranging from minimalist designs to feature-packed templates. For a blogging-focused site, you’ll likely want a theme that is clean, readable, and mobile-friendly.
Free vs Premium Themes: You can find free themes right from your dashboard (Appearance > Themes > Add New). The WordPress.org theme repository hosts reputable free themes – all of which are excellent for blogging. Free themes can be surprisingly powerful; many have optional upgrades to a premium version with more features. Premium themes (purchased from marketplaces like ThemeForest or from theme developers) often come with dedicated support and more bundled features, but you can absolutely create a professional blog with a high-quality free theme.
When choosing a theme, consider: design/style, customization options, speed/performance, and support/updates. Lightweight themes such as GeneratePress and Astra have become favorites because they are well-coded for speed and SEO, and they let you tweak a lot without needing to code. For instance, Astra emphasizes performance – it’s known to load in under half a second out of the box, without compromising on design flexibility. OceanWP offers tons of customization and is great if you want many out-of-the-box design features (it’s slightly heavier, but still performs well if used right). If you’re after a very fast and simple blog layout, GeneratePress is widely recognized for being one of the most lightweight themes available.
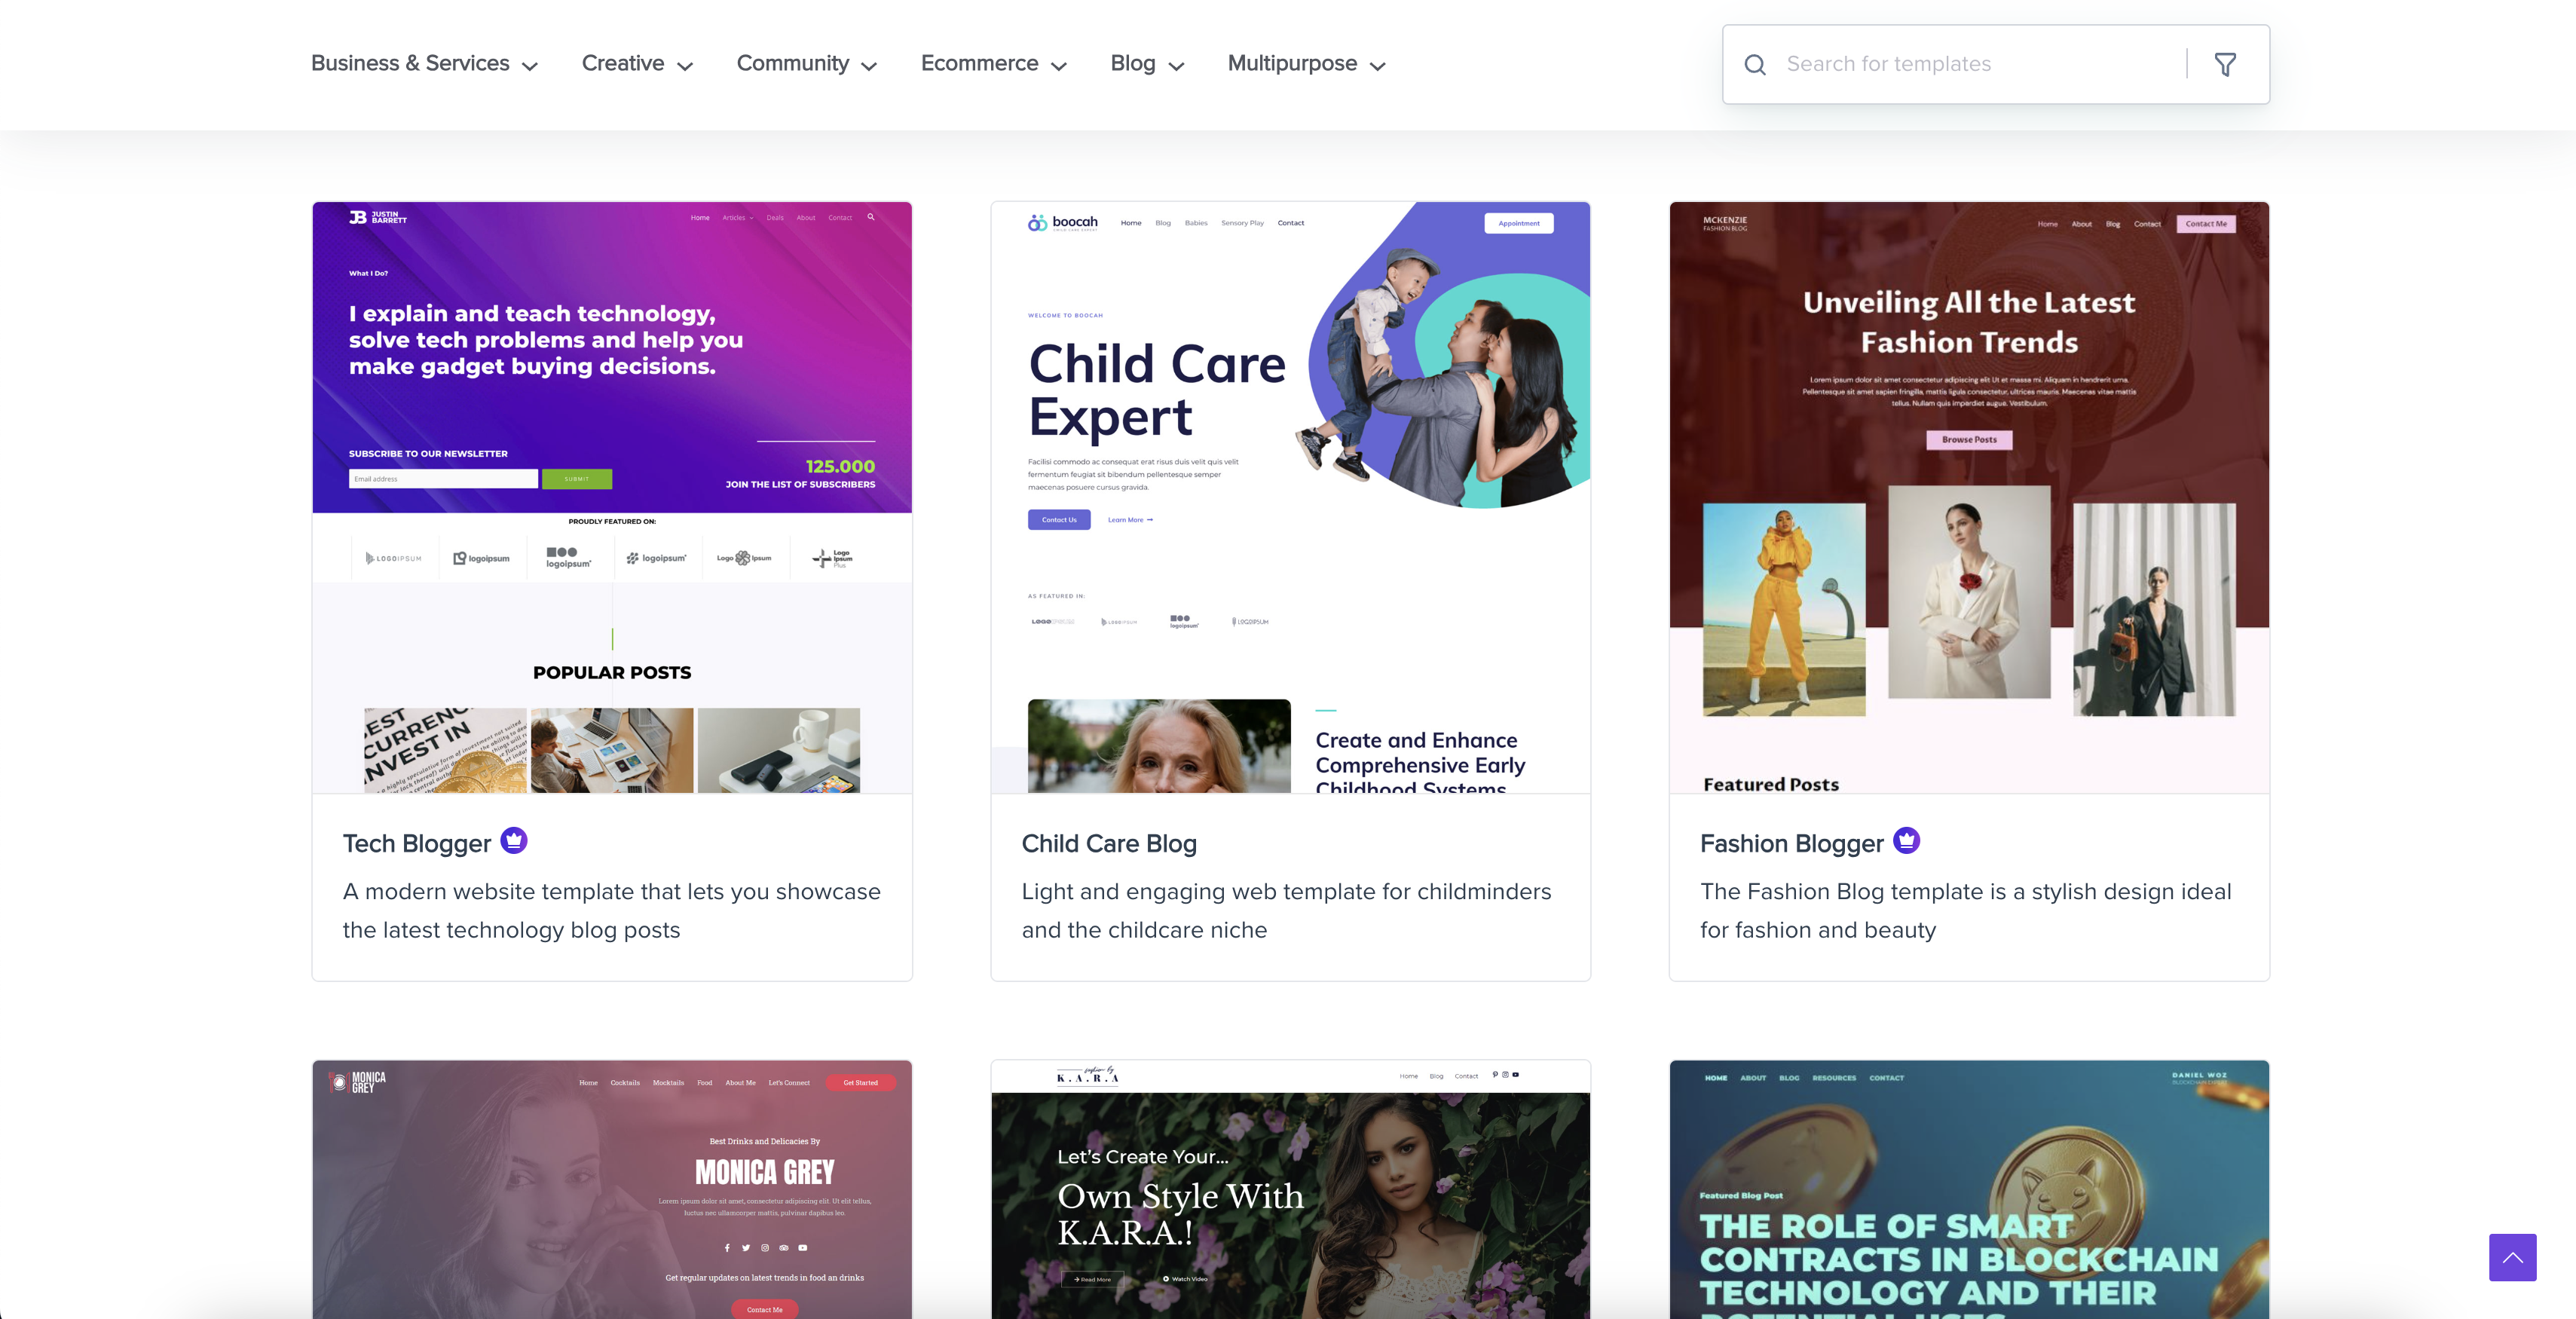
Astra's website offers a wide variety of templates that will work great on a WordPress website.
Installing a Theme: In your WordPress admin, go to Appearance > Themes, then click Add New. You can search by name (e.g., try searching “Astra” or “Kadence”). Hover over the theme thumbnail and click Install, then Activate. That’s it – your site’s look will instantly switch to the new theme. Your content stays the same – it’s just a design change. You can switch themes anytime to drastically change your site’s appearance.
Customization: After activating a theme, you’ll likely want to customize colors, fonts, logo, etc. Most themes support the WordPress Customizer: go to Appearance > Customize. This brings up a live preview of your site with a sidebar of customization options. Common settings include site identity (logo, site title), colors, typography (fonts for headings and body text), layout options (like sidebar on/off, blog post list style), and more. Each theme will have its own set of options here. Spend some time exploring these settings to make the design yours.
Many themes also come with pre-designed starter templates or demo sites you can import. These can be great to kickstart your design – you import a demo and then just replace content with your own. It’s optional but worth checking out if you want a quick design that you can then tailor.
Responsive Design: Make sure whatever theme you pick looks good on mobile devices. In 2025, most blog traffic can come from mobile. Virtually all modern themes are responsive (meaning they automatically adapt to smaller screens), but it’s always good to check. In the Customizer, you can often toggle the mobile view preview. Ensure your font sizes are readable on a phone and that images or layouts aren’t breaking the design.
At this stage, you have a site with WordPress installed and a nice theme activated. Your blog is basically looking like a real website!
Final Thoughts
Starting a blog from scratch can feel like a big task – but look at how far you’ve come in this guide! By now, you should have a clear roadmap: from choosing the right setup method and hosting, through to getting your domain, installing WordPress, and designing your site. The truth is, blogging on WordPress is both an art and a science. The technical setup is just the beginning; the real magic happens when you consistently pour your passion and knowledge into your content.
For beginners, the key is just to start. WordPress lowers the barrier tremendously – you don’t need to be a coder or a web designer. If you follow these steps, you’ll have the foundation of your blog ready. Everything beyond that is a learning experience that unfolds as you go. Don’t be afraid to make tweaks, try new plugins, or change your theme later – your blog can evolve with you.
AI tools like Viveboard’s Content Copilot can be like an “extra pair of hands” in your blogging workflow. They can generate ideas, speed up writing, and help optimize content. This means you can focus more on strategy, creativity, and connecting with your audience. Many successful bloggers are already leveraging AI to publish more without sacrificing quality. As long as you maintain that human touch and oversight, AI can truly elevate your blogging game – essentially allowing you to do more in less time, and potentially helping your content rank higher thanks to smarter optimization.